
This morning my Arduino Mega 2560 arrived. After some weeks of research it was time to get my hands dirty. Working with Arduino is as simple as boiling an egg. You go to the getting started pages on the Arduino website, choose your operating system, download and install the development tool and follow the steps described.
Before we move on to the fun part (getting something to work), let’s get a little bit more in-depth on the Arduino board itself:
A standard Arduino board (let’s say the Arduino UNO) comes with these major features:
- Power connector (center-positive)
- USB connector for both power and communication with a computer
- 14 digital I/O pins (can read or write an ON or OFF state of/to an external device – like a button or a LED)
- 6 analog input pins (can read a value state of an external device – like a pot-meter)
- It has an operating voltage of 5V
- It can take operating voltages ranging from 6-20V (7-12V recommended)
- It’s clock speed is 16MHz
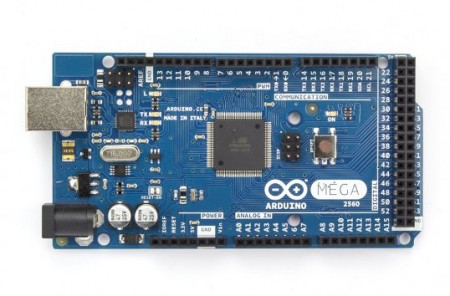
My board (Arduino Mega 2560) has these differences
- The board is bigger (4in instead of 2.7in)
- It has 54 digital I/O pins (important for my project, since I need at least 8 digital ins and 8 digital outs)